Satellite connectivity in consumer smartphones was considered science fiction five years ago. In 2026, it's a standard feature in flagship phones — and it has already saved lives in remote wilderness emergencies, at sea, and in natural disaster zones.
Understanding how to use your phone's satellite capability correctly — and critically, what its limitations are — could one day be the difference between a safe rescue and a life-threatening misunderstanding. First: check if your phone actually supports satellite connectivity using WhatPhone's free detector. Not every device does.
Step 1: Which Phones Support Satellite in 2026?
| Device | Satellite Partner | SOS | Messaging | Location Share |
|---|---|---|---|---|
| iPhone 14 / 15 / 16 series | Globalstar | ✓ | ✓ iMessage only | ✓ Find My |
| Google Pixel 9 series | SpaceX Starlink (T-Mobile) | ✓ | ✓ SMS/Messages | ~ Limited |
| Samsung Galaxy S25 (select) | SpaceX Starlink (T-Mobile) | ✓ | ✓ On T-Mobile | ✗ |
| Older iPhones (13 and below) | None | ✗ | ✗ | ✗ |
| Most Android (non-Pixel/T-Mobile) | Varies by carrier | ~ Carrier-dependent | ~ Carrier-dependent | ✗ |
Step 2: Set Up Emergency SOS via Satellite on iPhone
iPhone's satellite emergency feature requires a one-time setup that most users skip. Complete it before you need it — configuring it during an emergency in a no-signal area is stressful and error-prone.
Navigate to the setup
Settings → Emergency SOS → Set up Emergency SOS via Satellite. Tap through the guided setup wizard. It takes about 3 minutes and requires an active internet connection (do it before you go off-grid).
Add your Medical ID
Health app → your profile → Medical ID → Edit → Fill in blood type, allergies, emergency contacts, and medical conditions. This data is transmitted as part of your satellite SOS to emergency services — critical information for paramedics arriving at a remote location.
Add emergency contacts
Settings → Emergency SOS → Emergency Contacts (via Health). These contacts receive an automatic SMS notification when you trigger Emergency SOS — cellular or satellite. They see your location in Find My and receive status updates.
Run the Demo
Settings → Emergency SOS → Try Demo. This walks you through the pointing gesture and satellite acquisition process without actually calling emergency services. Practice until the motion feels natural — pointing at an invisible satellite while panicked in the dark is harder than it sounds.
Step 3: Send a Satellite Message (Non-Emergency)
As of iOS 17 and the iPhone 15, Apple extended satellite to non-emergency iMessages. This lets you send short texts to family and share your location when hiking, sailing, or travelling in rural areas without cell service.
Go outside with a clear sky view
Satellite messaging requires an unobstructed view of sky. Dense tree canopy can block the signal. Open fields, summits, coastlines, and clearings work best. A thin cloud cover is acceptable.
Open Messages → start a conversation
When there is no cellular or Wi-Fi signal, a banner appears in the Messages compose view: "No Cellular Coverage — Satellite Available." Tap it to begin satellite sending. Type a short message (keep it under 160 characters for fastest delivery).
Follow the satellite pointing animation
The phone shows a directional arrow overlaid on a sky diagram. Move the phone until the arrow aligns — you'll feel a haptic pulse when connected. Hold still. Delivery takes 15–90 seconds depending on satellite position and signal quality.
Step 4: Share Your Location via Satellite
Location sharing via satellite is one of the most useful features for outdoor adventurers — it lets your contacts track your journey even when you're completely off-grid.
On iPhone: Find My → Share via Satellite
Find My → People → Share My Location → choose satellite delivery option when off-grid. Your location pings every 15 minutes while you remain in no-signal territory. Recipients on any platform see your location in the Find My app or via a web link.
Conserve battery for longer trips
Each satellite location update uses the phone's GPS + antenna — roughly 2–5% battery per transmission. For trips longer than 8 hours off-grid: reduce update frequency, turn off Bluetooth and Wi-Fi scanning (they continue hunting even with no networks present), and keep the screen off except when needed.
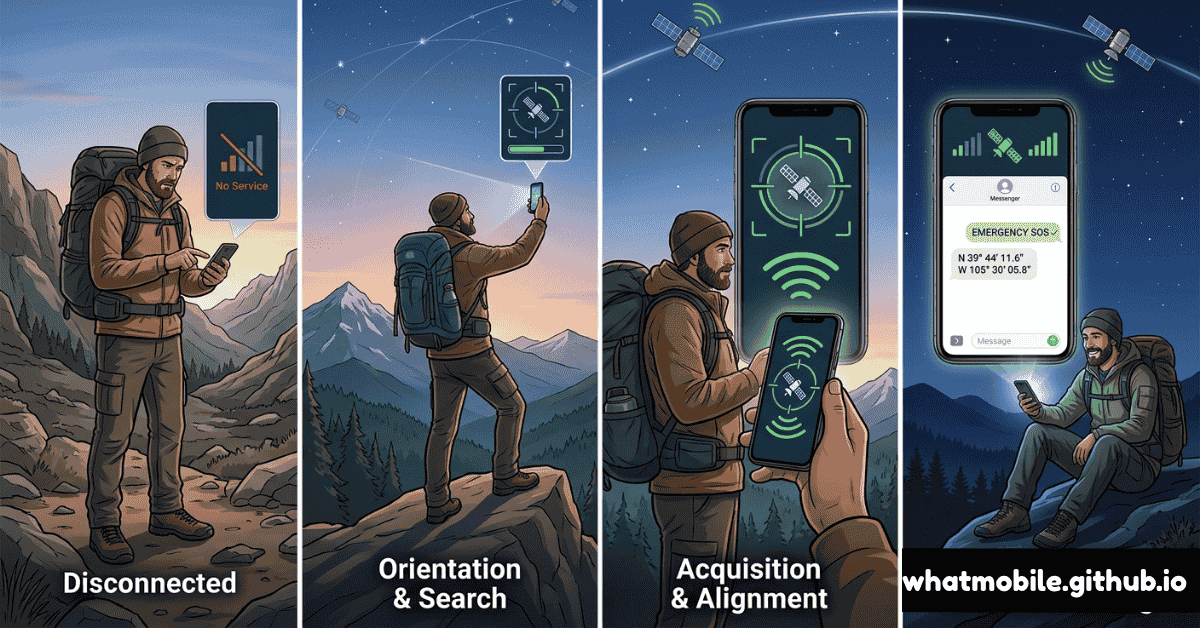
Step 5: Triggering Emergency SOS via Satellite
In a genuine emergency with no cell signal:
Press and hold Side + Volume button
Hold both until the power slider and Emergency SOS slider appear. Drag Emergency SOS → the phone asks a series of questions (nature of emergency, your condition, how many people involved). These responses are transmitted to a relay center that forwards them to local emergency services.
Point at the sky and stay still
Follow the directional pointer until you feel the confirmation haptic. Do not walk around during transmission — movement interrupts the satellite handshake and restarts the connection. If under tree cover, move to a clearing first.
Stay with your device
Once SOS is sent, do not move far from your transmitted location. Emergency responders use your GPS coordinates from the satellite transmission — if you move significantly, you become harder to find. Stay put unless your immediate location is dangerous (rising water, fire, unstable ground).