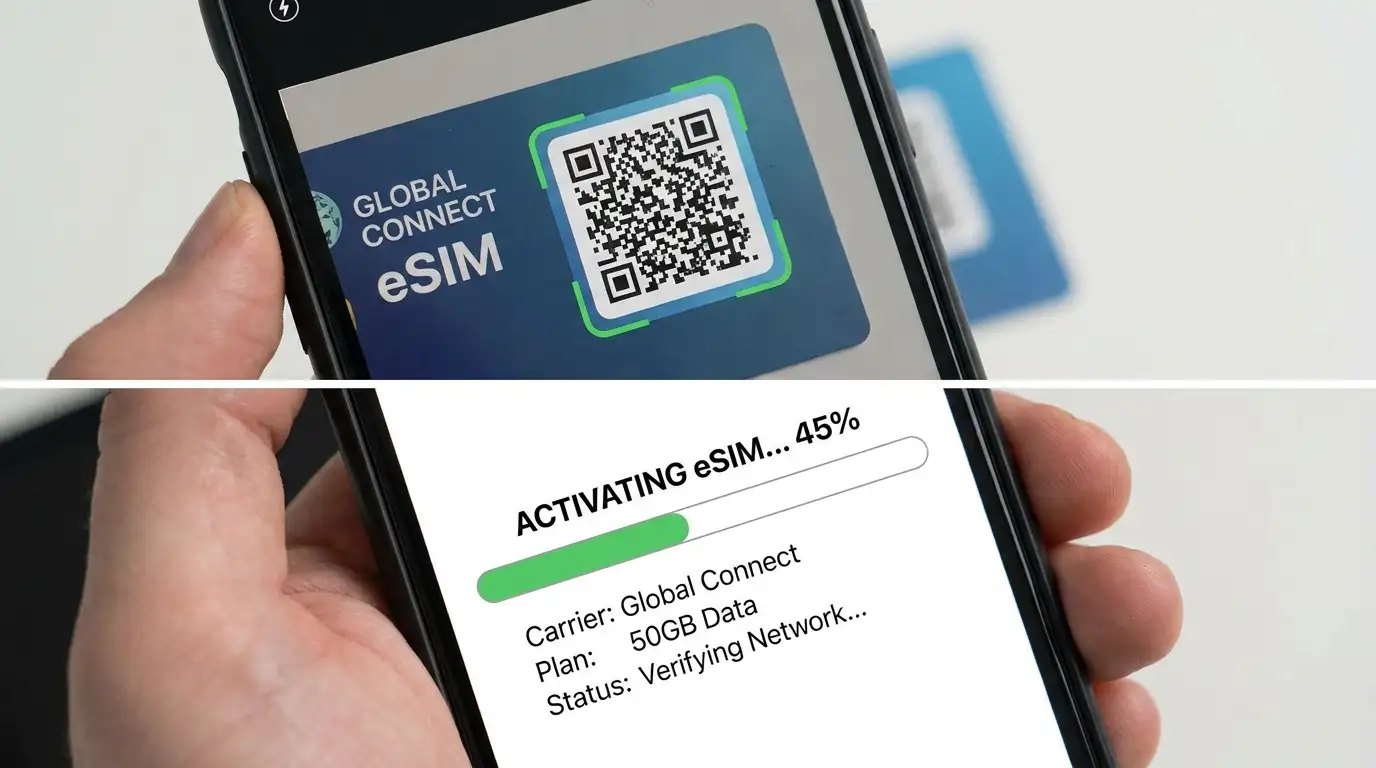
Since 2022, most flagship phones sold in the US ship with no physical SIM tray at all, and globally, carriers increasingly offer eSIM as the default option even where a tray is still present. If you've never activated one, the process looks unfamiliar the first time — but it's faster and more flexible than swapping a physical card once you know the steps.
This guide covers activation, running two lines at once, moving an eSIM to a new device, and the handful of errors that trip people up. First, confirm your exact device's eSIM support — use WhatPhone to identify your model if you're not certain.
Step 1: Confirm Your Phone and Plan Support eSIM
eSIM support has been standard on flagship and mid-range phones since roughly 2019 (iPhone XS and later, most Android devices from Google, Samsung, and OnePlus released after 2021), but budget phones and region-specific models sometimes omit it. Your carrier also needs to support eSIM activation for your specific plan — prepaid and MVNO plans lag behind postpaid flagship carriers here.
Step 2: Activate a New eSIM
Get your activation QR code or carrier app link
Your carrier provides this after purchase — either printed on a card, emailed, or generated inside their app. It's single-use, so avoid screenshotting and reusing it across devices.
iPhone: Settings → Cellular → Add eSIM
Choose "Use QR Code" and scan it with the camera, or tap "Details entered manually" if you have the SM-DP+ address and activation code as text instead. Follow the prompts to label the line (e.g. "Personal" or "Travel").
Android: Settings → Network & Internet → SIMs → Add eSIM
On Samsung: Settings → Connections → SIM manager → Add eSIM. Scan the QR code the same way; activation typically completes in under a minute over Wi-Fi.
Step 3: Set Up Dual SIM for Travel or Two Numbers
Once you have more than one active eSIM (or an eSIM plus a physical SIM), you can run both simultaneously — useful for keeping your home number reachable while using a cheap local data eSIM abroad, or separating work and personal numbers on one phone.
- Set a default line for calls and texts — usually your home number, so people can always reach you on the number they have saved.
- Set a default line for data — switch this to your travel eSIM to avoid roaming charges on your home plan while abroad.
- Enable per-line notifications — most phones let you assign a distinct ringtone or label to each line so you can tell them apart at a glance.
Step 4: Transfer an eSIM to a New Phone
iPhone to iPhone: use Quick Transfer
During setup on the new iPhone, when prompted to transfer data from your old device, eSIM transfer happens automatically alongside your other settings if both phones support it and are running a recent iOS version.
Cross-platform or manual transfer: contact your carrier
Most carrier apps have a "Transfer eSIM" or "Switch device" option that generates a fresh activation QR code for the new phone. This deactivates the eSIM on the old device automatically once the new one activates.
Step 5: Fix Common eSIM Activation Errors
"Unable to scan" or QR code rejected
The code has likely already been used once, or you're trying to scan a screenshot instead of the live code. Request a new QR code from your carrier — most will reissue one for free if the original wasn't activated successfully.
Activation stuck or timing out
Switch to a strong Wi-Fi connection (cellular data can interfere with the activation handshake on some carriers), and toggle Airplane Mode on and off to reset the modem before retrying.
"Not compatible with this carrier"
Your phone may be carrier-locked to a different network — check Settings → General → About → Carrier Lock (iPhone) or contact your original carrier to confirm the device is unlocked before activating a different provider's eSIM.